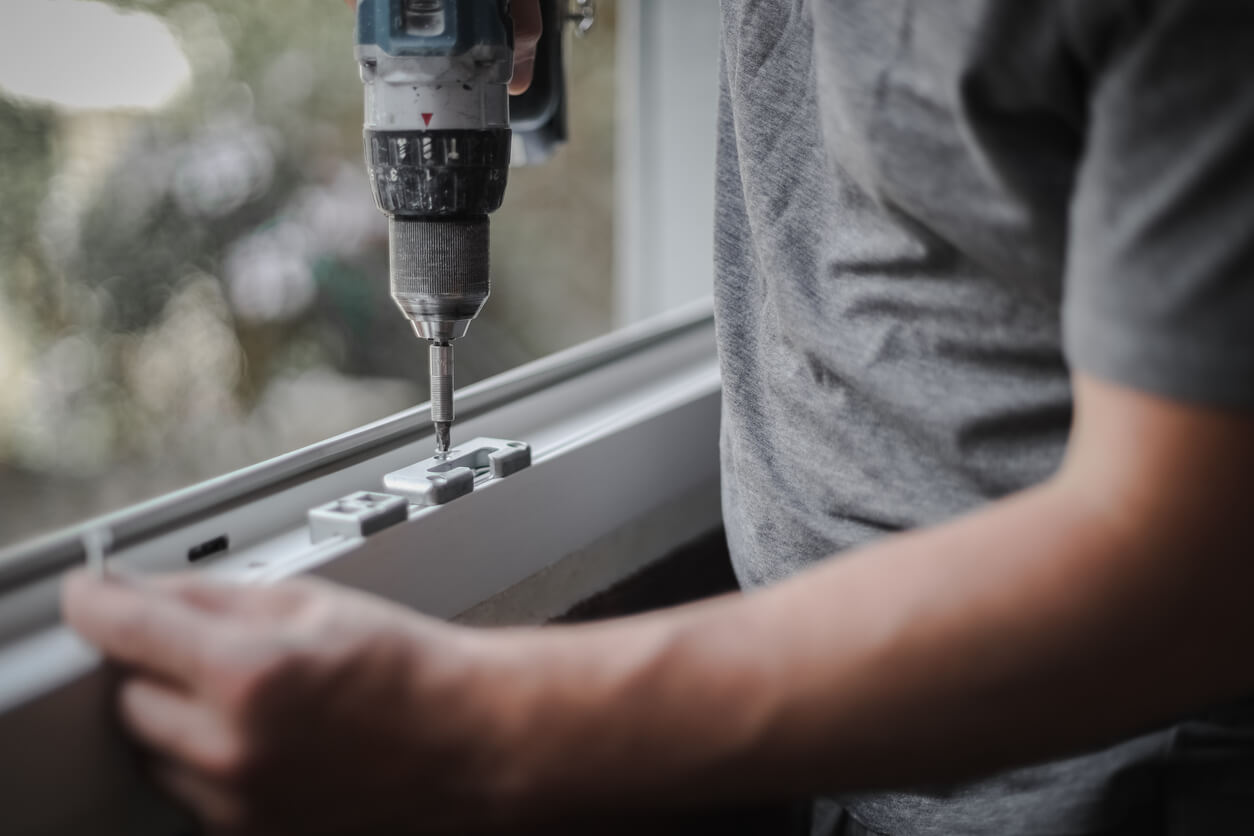
Whether you're tackling a home renovation project or simply looking to upgrade your space, learning how to frame a window is a handy skill that can transform the look and feel of any room. From enhancing natural light to improving ventilation, the right window framing can make a significant impact, and if you’re looking to perform this yourself with a bit of effort and DIY skills, it’s not so difficult to pull off! In this comprehensive guide, we’re going to walk you through each step of the window framing process, so that you’re fully equipped with the knowledge and skills to achieve professional-looking results. Let’s dive in.
The Basics of Window Framing
Essential Tools and Materials
Before going straight into the window framing process, it's important to gather all necessary tools and materials. You'll need a tape measure, level, saw, hammer, nails, screws, and the window unit itself, and depending on the scope of your specific project, additional materials like shims or insulation might also be required. Having everything on hand before you start will streamline the installation process, so gather the items listed above before you start the process.
Safety Precautions
Safety should always be your top priority when undertaking any DIY job, so make sure to protect yourself by wearing protective eyewear and gloves - these will shield you from any potential hazards. Additionally, ensure that your work area is clear of obstructions and that you're using each tool correctly and for its intended purpose. Remember, taking the time to work safely can prevent accidents and injuries.
Measuring the Window Opening
Accurate measurements are the foundation of a successful window framing project, so this is where you’ll begin. Start by measuring the intended window location carefully, considering both the width and height, and make sure to check these measurements against the size of your window unit to ensure a good fit.
You’ll also want to make sure you have enough time to complete the project within the day; you can take a look at our timeline for window installation to help you plan accordingly.
Marking Key Points
Once you've confirmed your measurements, mark the key points on the wall where the frame will be installed. These marks will guide the placement of the bottom plate, side studs, and top plate, ensuring your frame is level and square.
Choosing the Right Window Frame Material
Next up, you’ll want to select the appropriate material for your window frame - and this choice is important when it comes to both aesthetics and functionality. Wood, vinyl, and aluminum are popular choices, each offering its own set of advantages, but you’ll want to consider factors like durability, maintenance, and thermal performance when making your decision.
Step-by-Step Window Framing Process
Assembling the Bottom Plate
Next up, the framing process: note that the bottom plate serves as the foundation of your window frame, so cut a piece of lumber to the measured width of your window opening and secure it in place, ensuring that it’s fully level.
Erecting the Side Studs
Now, position the side studs at the edges of the bottom plate, extending them up to the height of your window opening. These studs are going to be supporting the sides of your window frame.
Placing the Top Plate
After you’ve positioned the studs, install the top plate across the top of the side studs to complete the frame. Like the bottom plate, this piece should be cut to the width of the window opening and securely attached.
Installing the Window Frame
Fitting the Window Frame
Onto installing the window frame, you’ll want to carefully fit the window frame into the opening you've created. Use shims to adjust the fit as necessary, ensuring the frame is level and square within the opening.
Securing the Frame in Place
Once the frame is correctly positioned, secure it using nails or screws. Be sure to check the manufacturer's recommendations for specific fastening requirements. And voila, you’re done!
Finishing and Trim Work
Once the window frame has been placed, the final step when framing a window is going to be adding trim and any other finishing touches. Trim work not only enhances the appearance of your window but also covers any gaps or rough edges, giving you a clean, polished final look, so go around and inspect your work, touching up where necessary.
The Bottom Line
Ultimately, framing a window might seem like a bit of a daunting task at first, but with the right preparation and attention to detail, you can achieve professional-looking results. And if you’re looking for one of the best window companies in Denver to handle the job professionally, look no further than our team at Rise Renovation.
