If you're planning to renovate your home or simply want to replace your existing vinyl siding, knowing how to remove it efficiently and safely is essential. So whether you're a seasoned DIY enthusiast or a first-time homeowner, our step-by-step guide will walk you through the process of removing vinyl siding with confidence and ease. Let’s get started!
Preparation and Safety Measures
Before you dive into removing your vinyl siding, take some time to prepare and ensure your safety throughout the process:
Gather Your Tools
You'll need a few essential tools for this project, including a utility knife, zip tool, pry bar, safety glasses, work gloves, and a ladder. Make sure all your tools are in good working condition.
Safety First
Prioritize your safety by wearing protective gear such as safety glasses and work gloves, and ensure your ladder is stable and placed on a level surface.
Weather Check
To ensure safety, it’s best to avoid working on windy or rainy days; removing siding in adverse weather conditions can be hazardous and make the process more challenging for those involved, especially those who aren’t DIY experts.
Turn Off Utilities
Before you start, turn off the electricity and gas supply to the exterior wall you'll be working on to prevent accidents.
Step-by-Step Guide for Removing Vinyl Siding
Now that you're prepared, let's dive into the step-by-step process of removing vinyl siding:
Step 1: Start at the Bottom
Begin at the bottom edge of the wall where the vinyl siding meets the foundation; use a zip tool or utility knife to unlock the first panel from the one below it. Slide the tool or knife carefully along the seam until you hear it click, indicating that it's disengaged.
Step 2: Work Your Way Up
Once the bottom panel is detached, gently lift it away from the wall. Move up to the next panel, following the same process. Continue this pattern, working your way up the wall.
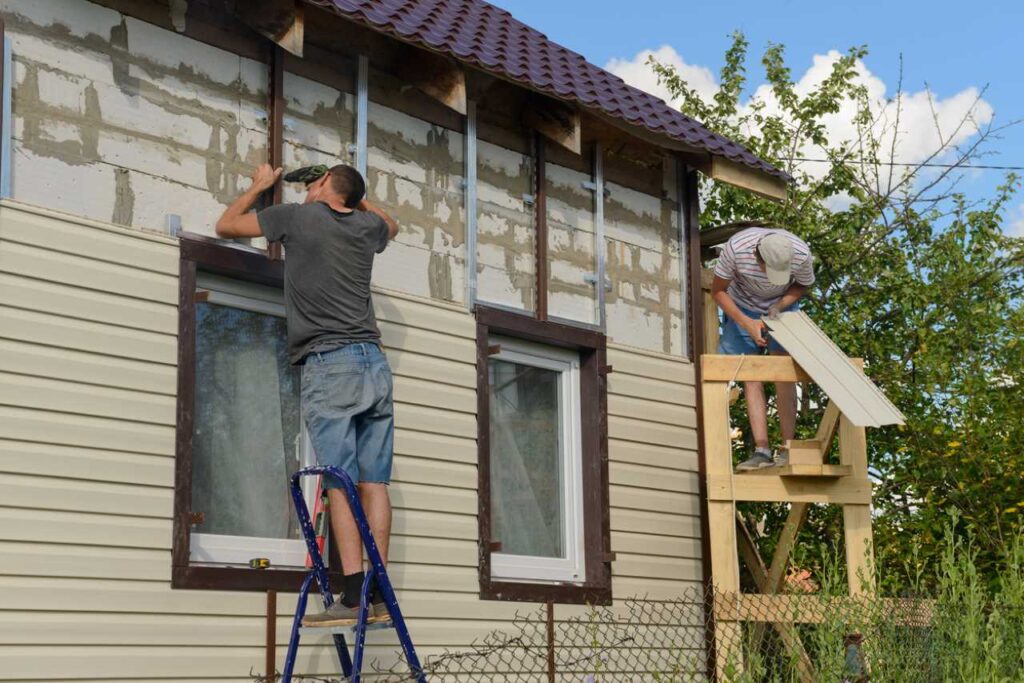
Step 3: Remove Trim Pieces
Pay attention to any trim pieces around windows, doors, or corners, as these may require additional attention and removal. Use a pry bar or utility knife to carefully remove trim pieces, taking care not to damage them.
Step 4: Inspect for Obstacles
During the removal process, keep an eye out for obstacles like nails, screws, or staples that may be left behind, and remove any fasteners to ensure a clean surface.
Step 5: Handle J-Channels and F-Tracks
J-channels and F-tracks are often used to secure vinyl siding, and you may need to unhook or unscrew them to release the siding panels. Take your time and use your tools cautiously to avoid any damage.
Step 6: Dispose of Removed Siding
As you remove each panel, stack them neatly to the side for disposal. Ensure that you have a designated area to collect and store the old siding for proper disposal.
Dealing with Challenges and Obstacles
Removing vinyl siding can present some challenges, especially if you encounter stubborn panels, intricate trim, or unexpected obstacles. Here are a few tips for handling these situations:
- Stuck Panels: If a panel is stuck or stubborn, gently pry it using your pry bar or utility knife, taking care not to damage the panel.
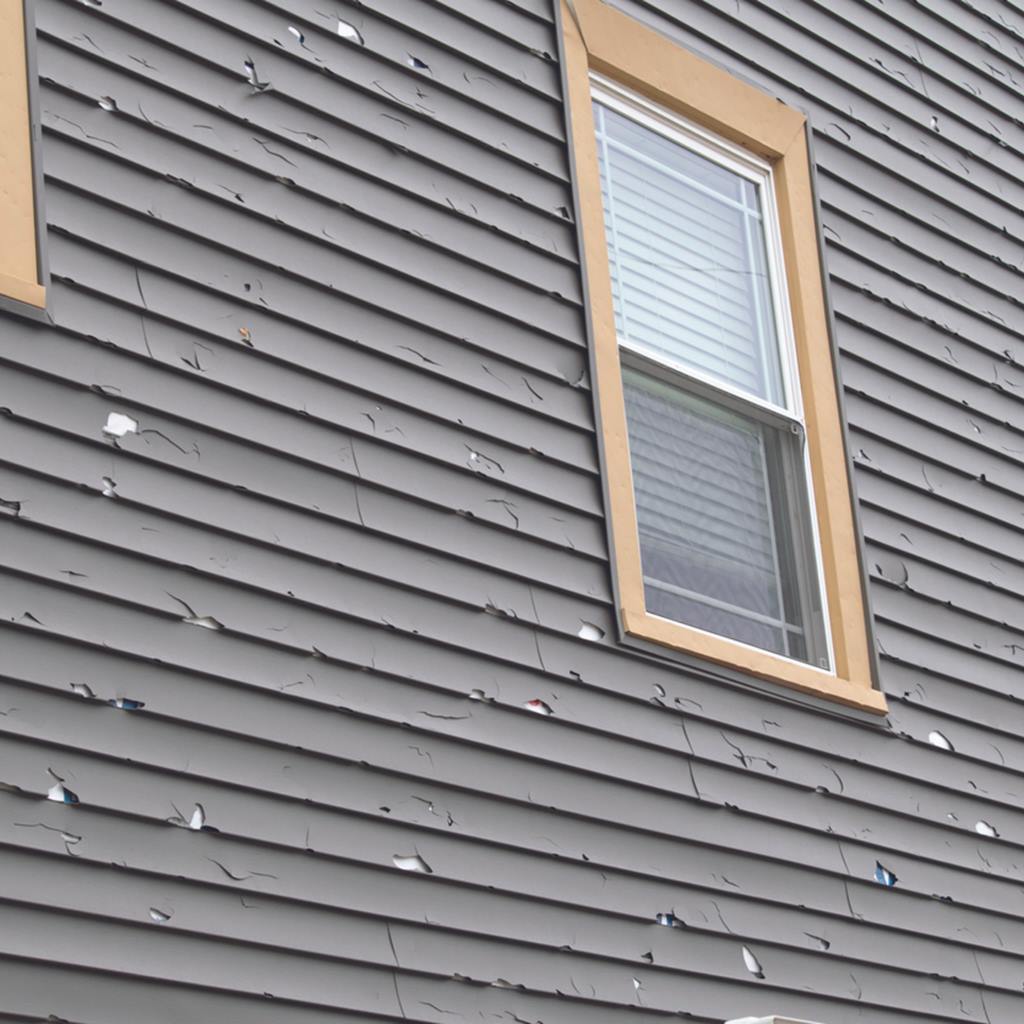
- Mold or Mildew: If you discover mold or mildew behind the siding, wear a mask and follow proper cleaning and disposal procedures.
- Repair Any Damage: Inspect the wall beneath the vinyl siding for any damage or insulation issues. Address these concerns before installing new siding.
Proper Disposal and Cleanup
Once you've successfully removed all the vinyl siding, it's essential to dispose of it properly. Here's how:
- Check Local Regulations: Check with your local waste management facility or recycling center for guidelines on disposing of vinyl siding. Some areas may have specific regulations.
- Recycling: If possible, consider recycling the old vinyl siding. Some recycling facilities accept vinyl materials.
- Landfill: If recycling isn't an option, dispose of the old siding at a local landfill according to your area's regulations.
- Cleanup: Thoroughly clean the work area, removing any debris or fasteners left behind.
Post-Removal Considerations
With the vinyl siding removed, you're one step closer to your renovation or replacement project. Before installing new siding, take a moment to assess the condition of the wall beneath. Ensure it's in good shape, repair any damage, and consider adding insulation to improve energy efficiency.
And if you're in the Colorado area and need professional assistance with vinyl siding installation, don't hesitate to reach out to us at Rise Renovation, expert vinyl siding installers in Denver, CO.
FAQs
Can I reuse my old vinyl siding?
In most cases, it's not advisable to reuse old vinyl siding. Removing vinyl siding often involves some wear and tear, and attempting to reinstall it can result in a less secure and less aesthetically pleasing finish. Additionally, if your siding is outdated or damaged, it's a good opportunity to consider upgrading to newer, more energy-efficient materials. Recycling or disposing of the old siding responsibly is a more practical approach.
How long does it take to remove vinyl siding from an average-sized home?
The time required to remove vinyl siding can vary depending on several factors, including the size and complexity of your home, the condition of the existing siding, and your experience level. On average, it may take a DIY homeowner anywhere from a few days to a week to complete the removal process. Hiring professionals can significantly reduce the time required and ensure a smoother and more efficient removal.
Is it possible to install new siding immediately after removing the old vinyl siding?
While it's technically possible to install new siding immediately after removing the old vinyl siding, it's not always recommended. It's essential to inspect the wall beneath the siding for any damage, rot, or insulation issues. Addressing these concerns and properly preparing the surface can ensure better results and maximize the lifespan of your new siding. It's also an opportunity to make any necessary improvements or updates to your home's exterior.